


DIY Shampoo Bar Recipe for Healthy Hair and Sustainable Living
- Hilary Elmer
- Nov 14, 2025
- 6 min read

You can have soft, silky hair without chemical laden liquid shampoo and conditioner. Plus, shampoo bars don't add plastic bottles landfills. They are good for you and the planet!

If you knew all the chemicals you are slathering on yourself when you use conventional shampoo and conditioner, you wouldn't feel so clean after using them. Did you know that they contain things like:
parabens (xenoestrogens, a preservative)
formaldehyde (a known carcinogen)
sulfates (can cause hair loss)
phthalates (endocrine disrupter, causes premature puberty)
synthetic fragrances
synthetic colors
sodium laurel sulfate and sodium laureth sulfate (SLS and SLES, cause skin irritation)
dimethicone (can cause acne)
and more...
Many of these ingredients are preservatives because bacteria will grow in water based shampoo. Simply switching to a shampoo bar eliminates the need for preservatives.
SLS is a foaming agent, which is unnecessary in shampoo bars because real soap creates thick lather naturally.
Synthetic fragrances and dyes are just sugar coating to make products appeal to the senses while further adding to the toxic load. In shampoo bars, natural essential oils and other optional add-ins smell good and can look beautiful while lending therapeutic benefits to your scalp without toxicity.
Aren't you glad to know that there is a healthy alternative for keeping your hair clean and shiny?
I have been using and selling shampoo bars since 2010. Almost everyone loves them. The only people who told me that their hair did not respond well were people with curly or dyed hair.
Shampoo bars are basically just home made soap, except that about 30% of the base oils is castor oil. I have tried to wash my hair with my regular bar soap, and after a while it got icky and tangley. Something about castor oil makes hair lustrous. Castor oil also gives thick, rich lather.
I would not normally recommend using that much castor oil in soap because it makes the bar soft, so it can melt faster. Have a soap dish that is concave for your shampoo bar so that it will not be sitting in water between uses. That's good practice for all soap, but necessary for shampoo bars.
If you are a new soap maker, you should have a couple batches of soap under your belt before attempting shampoo bars because the castor oil causes it to come to trace pretty quickly and you could be left with a block of soap in your pot rather than the mold.
When you use a shampoo bar, rub the bar over all of your hair--top, back, sides, and if you have long hair, down the long hair in back. Don't just rub it on top, you won't get enough suds. Then scrub it in like you normally would.
After washing shampoo bar suds out of your hair you need to put a rinse on it--but not conditioner. Have you ever seen a picture of a hair enlarged by a microscope? Hairs have little scales. Normally those scales lay flat. When they become alkali (soap is alkali), the scales curl outward. This makes hair get tangled and greasy. The trick to keeping the scales flat, and your hair smooth and silky, is to restore hair to being slightly acidic.

All you need is to keep a squirt bottle of diluted vinegar in the shower to squirt over your hair after rinsing out shampoo suds. You may choose to leave the vinegar rinse on (I do), or you may rinse it out.
I recommend 1 ounce of apple cider vinegar (white vinegar works too) in a 16 ounce bottle, filled the rest of the way with water. This bottle can be refilled and reused over and over again.
The only thing I don't like about shampoo bars is when they are almost used up, trying to rub that little nub in my hair. Therefore I cut shampoo bars to be two or three times as big as regular bar soap so that it goes farther before getting down to a nub. Once it reaches nub size, it's great to use for washing your face.
The basic recipe can be customized to your needs. Pretty much any essential oil/s can be used, at the rate of 1 oz for this size batch. All of the other things that you might add to home made soap are also game for shampoo bars: clay, charcoal, herbs, etc. My favorite herb for shampoo bars is nettle powder. Nettle is an old Russian folk remedy for the scalp (itching, thinning hair, dandruff, etc.). Nettle hair tonic was outlawed in Soviet Russia because the soviets were trying to force the people to modernize and leave the old ways behind. Fortunately, in America we have the freedom to put nettle in our shampoo!
Shampoo Bar Recipe
For a 2.5 pound batch which makes 5 oversized bars:
13 oz olive oil
8 oz coconut oil
9 oz castor oil
4.1 oz lye (NaOH)
10 oz milk frozen in an ice cube tray
1 oz essential oil of your choice
1/4 cup herb (optional)
1 - 2 tbs clay or charcoal (optional)
Equipment:
4 quart pot
2 quart bowl
1 gallon stainless steel bucket
stick blender / immersion blender
stainless steel slotted spoon
silicone spatula
digital food scale
wide mouth jar
2.5 pound soap mold
safety glasses
dish washing gloves
The process of making soap is not complicated, but because lye is caustic, it must be done cautiously. If you want to learn how to make soap from someone who has 15 years of experience, sign up for my farmstead soap making class.
If you get lye on your skin, you will notice that it will feel irritated and, if you don't wash it off, begin to burn. Simply wash with lots of water, then apply some vinegar. The acidity of vinegar counteracts the alkalinity of lye. Make sure you don't get lye in your eyes. It causes blindness.
The oils and lye must be measured by weight, not volume. Volume is inaccurate and can lead to soap that is too harsh or too oily.
Have a 2.5 pound soap mold ready.
Heat the oils till they are about 100F in a 4 quart pot, then turn off the heat.
Measure your essential oil and other optional ingredients and have them ready.
Put the frozen milk in a 2 quart stainless steel bowl. Sprinkle with an ounce of water.
Please do not allow small kids in the room while handling the lye. Put on safety glasses and dish washing gloves (to keep you safe from accidental lye splashes). Weigh the lye into a wide mouth jar or cup. Begin sprinkling the lye on the frozen milk, just a little at a time, and stir between sprinkles with a stainless steel slotted spoon. Do not inhale lye dust or the fumes. You will notice that the milk begins to melt as it reacts with the lye. Continue to sprinkle and stir until all of the lye has been added. The milk should be pretty much melted around the time that the lye is used up.
My favorite vessel for mixing this size batch in is a 1 gallon stainless steel bucket because of its small diameter and tall sides. You can get them for a good price on amazon. Pour the lye/milk and the melted oils into a 1 gallon bucket and scrape out the bowls with a silicone spatula to get all the lye and oils.
For most soap recipes I add the essential oil and other extras after it has come to trace. Because shampoo comes to trace so fast, I add them to the oils and lye before I start mixing to ensure that they get mixed in thoroughly before the mixture siezes up.
Using an immersion blender, blend the oils, lye/milk, essential oil, and any other extras. Keeping the blender head submerged, tilt it slightly so that the top and bottom of the mixture mixes.
It won't take very long to come to trace, probably just a few blasts of the blender. You will know it's ready when it begins to thicken slightly.
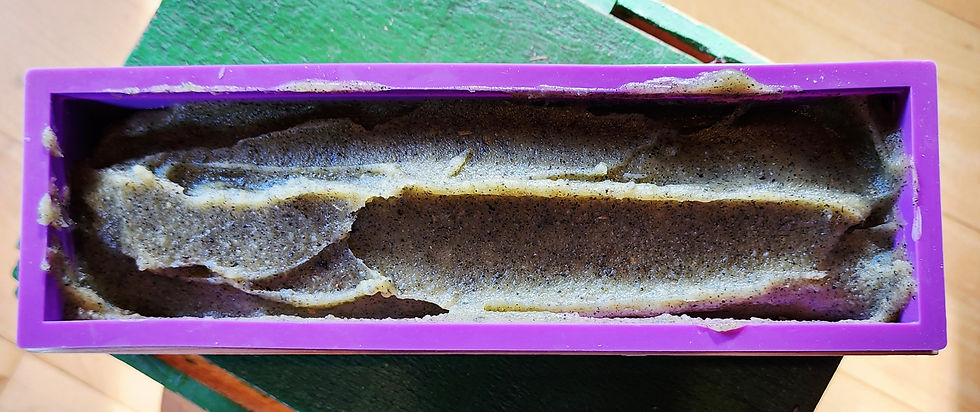
Pour the soap mixture into your mold and scrape the bucket with the spatula to get it all. Work quickly as it will be getting firmer by the moment.
Now set it in a safe place on a towel and let it sit overnight. The towel is in case it leaks, but that won't happen if you did everything correctly. It will heat up as the lye reacts with the oils. This is called saponification, or gel phase. If you notice it starting to crack on top, put it in a cool place such as the fridge, the basement, or outside on a cold day.
The next morning, turn out the hardened soap loaf onto a cutting board and cut it up with a thin, straight knife. This size batch will make 4 or 5 oversized bars. Don't be alarmed by the smell! That's the smell of uncured soap. That odor will go away soon and it will smell fresh, like the essential oil you added.
The hardest part is waiting for it to cure before you use it. Wait at least a week. This will ensure that there is no longer active lye. I won't sell soap that is less than 4 weeks old, because soap gets better and harder as it ages.
What benefits would you like to see from using natural shampoo bars? Less toxicity in your routine? Less plastic waste? Customized ingredients?


Comments